Todays DIY are the headboards I made for my sister's bed and for my bed. This project took the most time and most patience out of all the projects I have made for the dorm.
Materials:
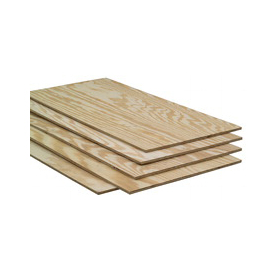 |
| piece of 1/2 x 2 x 4 plywood cut down to 2 x 3.25 these measurements are for a twin bed |
They will cut your wood at Lowe's if you don't have a way to cut it like me -- roughly $8.00 each because I went for the cheap stuff
 |
| some foam |
 |
| batting |
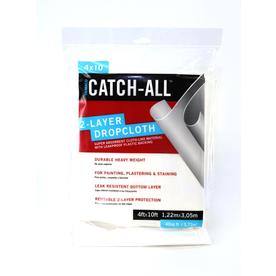 |
| a 4 x 10 dropcloth |
You can get actually get any size or brand I just got the cheapest one at my Lowe's -- around $4.00
 |
| upholstery nails (sisters) |
 |
| upholstery nails (mine) |
Upholstery nails (for the trim) - I made the mistake of letting my sister choose them. I ended up with the boring ones. -- around $8.00 for 8 packets (4 for each headboard)
SUPPLIES I HAD ON HAND:
black craft paint
printer
tacks
scissors
small craft paintbrush
STEPS:
1. measure and cut the foam to the width and length of your board then secure with any type of adhesive
2. measure out your batting (2 inches longer than your board on all sides)
3. flip the board face down onto the batting and staple (pull tightly but don't rip it)
4. same as step 3 only this time with the drop cloth - also, I forgot to iron this step and now I'm stuck with wrinkles on my headboard
 |
5. start putting in those nails - this takes a while luckily for me there was a Harry Potter marathon on
 |
| mine |
 |
| sisters |
 |
| almost done |
 |
| nails all done! |
but what? MONOGRAMS OF COURSE
onto step 6. find a font you like and make the letters the biggest font they will go and print them off
step 7. now tediously cut each letter out and place it how you like on your headboard then pin.
 |
| the boyfriend thinks monograms are weird. he doesn't like the last initial going in the middle. boys. |

Step 8. Trace around each letter with black paint and then remove the letters. Now fill in the traced letter and you should end up with something like....
.JPG) |
| This! |
.JPG) |
| and this! |
GRAND TOTAL: around 65 dollars for both or 32.50 each
I'm so glad they are done but I can't wait to have nice custom plush headboards in the supposed to be sterile dorm :)
♥ Katie


